IR Blaster
Contents |
Add a new IR device
First you will need to connect the IR Blaster in one of the USB ports of the Vera unit, you will need to login on your Dashboard, then go to Devices -> Add Devices, click 'Add' next to 'Add IR device'.
After that you will need to follow these steps:
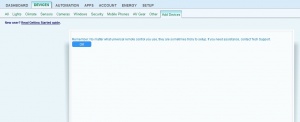
1. Click 'OK'
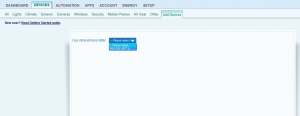
2. Select the IR Blaster
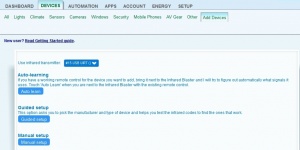
3. Click 'Guided setup'
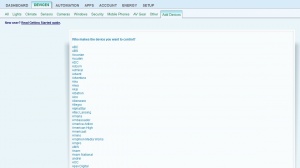
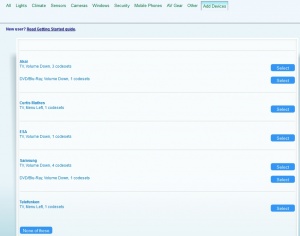
4. Click on the manufacturer of the device
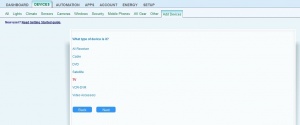
5. Click on the type of the device (when you click the device you will see it highlighted with a red colour), then click 'Next'
6. Click 'OK'
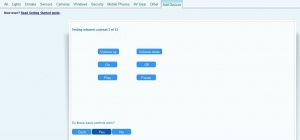
7. Then the guided setup will let you test infrared codesets starting from the first, if your device responds from cliking on the buttons, then you will need to click 'Yes'.
8. Enter the name of the device and select the room you want, then click 'Next'
9. The device will be added and you will see the following message. You will need to click 'OK'
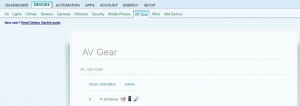
To be able to control your device, on your Dashboard, you will need to go to Devices -> AV Gear, and click the first icon on the left, under the Actions column (it's the first icon near the name of your AV device).
Learn IR codes
Make sure that the the IR Blaster is connected in one of the USB ports of the Vera unit, then go to your Dashboard, then go to Devices -> Add Devices, click 'Add' next to 'Add IR device'.
After that you will need to follow these steps:
1. Click 'OK'
2. Select the IR Blaster
3.Select Auto-learning option
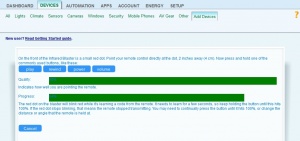
4. Then with the remote at 2 inches (4 cm) away from the IR Blaster press and hold one of the most commonly used buttons, like play/rewind/power/volume and wait until the bars fill up
5. Once the code is detected Vera will save and prompt you with this message where you should select the device that was detected
Note: If the device is not detected correctly, try the steps again and press another button.
